1. Make a plan
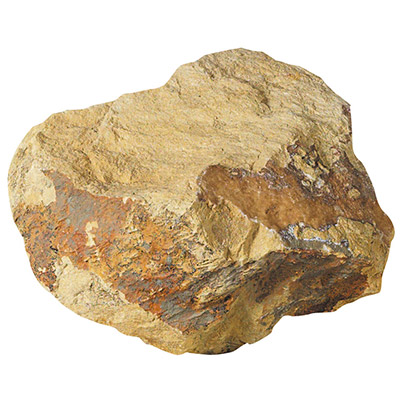
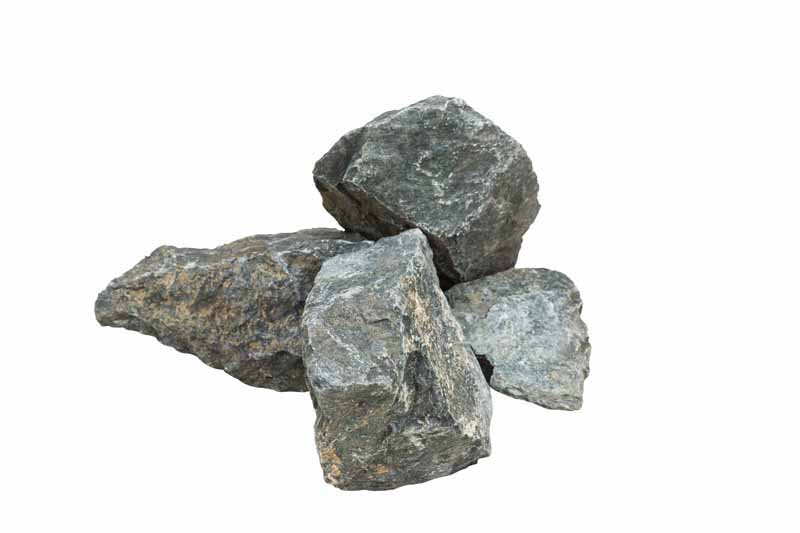
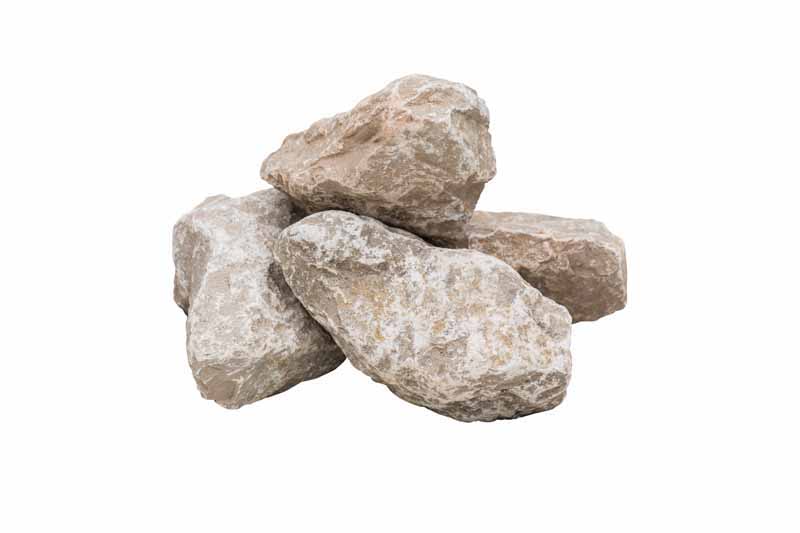
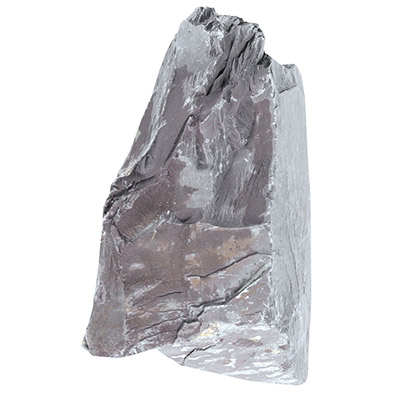
Before you place your order for rockery stones from Decorative Gardens, make a plan of what you want your hard landscaping to look like and the type of stone you want to use. There are many choices available in our range, from Rustic Sage Rockery, Plum Slate Rockery and the blue Welsh Slate Rockery, to the white Arctic White Boulder.
Many traditionalists recommend that you go with a single type of rockery stone as this will maintain consistency through your design, but, ultimately, the choice is up to you.
2. Location, location, location
You need to consider where you want to position your rockery. If you are planning to include plants, this may influence what site you choose. Alpine plants, for example, will need maximum light exposure, and so there is no point positioning your rockery stones in the shade of trees or shrubs.
3. Draw your design
When it comes time to plan your rockery build, it is easiest to use square paper and draw your design to scale. If you are more technologically minded, you could also design your rockery on your laptop, phone or tablet. Make sure that you are aware of the size of the rocks you want to place and where, and think about keeping things in proportion and stable.
4. Set your foundations
Before you start positioning your stones, ensure that the ground is clear and lay a layer of rubble to stabilise if necessary. You might also want to use weed fabric to keep future maintenance to a minimum.
5. Start at the bottom
In general, it is usually best to start laying your stones at the bottom of your rockery area first. Then you can work your way gradually up the slope. Also, think about facing your stones in a variety of different directions as this will produce a range of microclimates in the longer term.
Begin by laying a baseline. Unless you have a very clear, structural design in mind, it can be best to make this line an irregular shape as this can be the simplest to create and the easiest to maintain.
6. Biggest first
It is best to start laying your biggest rockery stones first. You may choose to use a layer of Large Cotswold Rockery, for example, or maybe the angular Large Plum Slate Rockery is more your style? Whatever you choose when you buy rockery stone, begin by laying out your base shape, leaving any room for planting if this is how your rockery is going to pan out.
Once you have decided where you want each rockery stone to lie, it is time to make the base structure secure. Each rock needs to be buried, with at least half and preferably two-thirds of them sitting safely below ground level. Do not cut corners at this stage, as this will form the foundation of your whole rockery. Your search for the best rockery stone suppliers near me will become pointless if your creation collapses in the first winter storm.
7. Pick your time
These initial steps are so important that they shouldn’t be rushed, and it may sometimes be necessary to time your approach well even before you start your build. Choosing the right weather to arrange your rockery stone can make a huge difference to the amount of work required and, ultimately, the success of the whole endeavour.
The absolute best time to create your rockery is when the ground is damp and soft. This will make it much easier to move the soil and get everything into position after you buy your rockery stone. A few days after heavy rain can be a good time to start. It is also worth considering whether you want to give your rockery time to settle before adding any plants.
8. Fill in the gaps
Once you have positioned and secured your base layer of large rockery stone, use planting compost to fill in the gaps. The ideal mix for this is free draining soil made from equal parts of compost and grit or sharp sand.
Then it is time to move on to the next layer, decreasing the size of the stones you use as you move upwards and remembering to leave enough room to infill with your soil and leave space for planting if that is part of your plans.
9. Beware of weed seeds
Remember that if you choose to use your own soil for filling between rockery stone, it may contain tiny weed seeds. If you want to start off with a weed-free rockery, bagged topsoil will be a better idea.
10. Take a look
As you create each layer of your rockery, make sure that you stand back and assess your work from a variety of different angles. This will allow you to take a good look at how your design is taking shape and make any changes that you think are necessary to create a better look or a more stable design.


